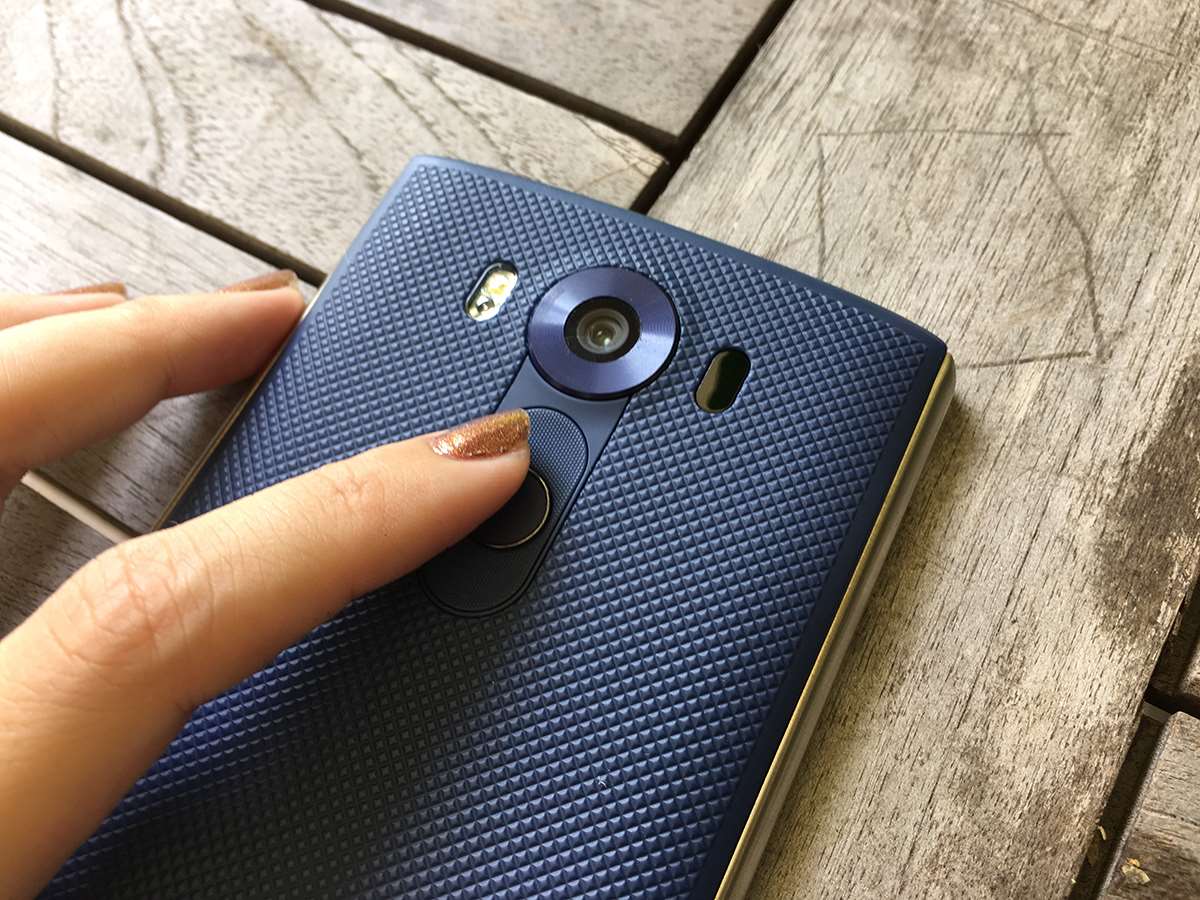
Android 6.0 saw the introduction of fingerprint authentication, which allows the users to confirm their identity with single touch. Additionally, fingerprint authentication most commonly used for user’s lockscreen, fingerprint authentication. Also, it involves to secure payment-apps, replacement of username and password with single touch sign in.
In this article, I’m going to show how to introduce fingerprint authentication in your own apps. By walking through the way of creating sample app that registers when the user places their fingertips for lock opening. Afterwards, process input fingerprint and provides various option after failure or success of fingerprint. Also, we’ll be looking to activate this feature in Android Virtual Device’s(AVD’s) that don’t have physical touch sensor.
Why should i need fingerprint authentication ?
- It is quick, faster and efficient user’s interface option . While, traditionally used PIN, Password, Pattern locks provide security feature. But, also considered as friction in user’s interaction. So, touching your finger to a sensor is far easier then entering PIN, using fingerprint authentication provides balance between user’s interface and security feature.
- You can’t forget a fingerprint. Almost, 10 % of android users forget about there PIN, Password, Pattern locks after certain interval of time. But, a user can’t forget about its fingerprint, so fingerprint is efficient in tackling this issue.
- Say No to Mobile Keyboards. It’s all messy to enter a long password on a small screen device. Also, it is not feasible to enter password again and again. As certain apps require passwords consecutively. Fingerprint Authentication gives users a way of confirming the identity without moving to the keyboards.
- Uniqueness of Fingerprint. Sometimes, user’s Pin are easily guessed and device is unlocked. While, Fingerprint of any user is unique so copying or guessing is not possible with this type of authentication.
Creating our fingerprint authentication project
If you want to start using fingerprint authentication in your app. Therefore, there are few steps which lead to development of app.
First of all, Open Android Studio and create a new project. You can use the settings of your choice, but for sake of simplicity you need to choose minimum SDK to 23 or other. Hence, it ensures fingerprint is never installed on android version which already have fingerprint.
Once you have created your project, we’ll need to do some adjustments and re-design app’s interface using manifest.
ALSO READ: Complete Body Massage!
Updating the Manifest :
First of all , our app is going to access the touch sensor of device for enabling authentication. However, not all android devices consist of touch sensor. While, fingerprint sensor is essential for your app, then you should not install that app on the devices which don’t have touch sensor. Furthermore, you can declare that app requires touch sensor for its proper functioning, by adding the following to Manifest :
XML
<uses-feature android:name=”android.hardware.fingerprint” android:required=”true”/>
android:required=”true” means , Google Play Store will only allow devices which has touch sensor within them. And by this,
XML
<uses-feature android:name=”android.hardware.fingerprint” android:required=”false”/>
Fingerprint sensor is marked as preferred not a necessary condition, Google play permits to download app if device doesn’t have touch sensor.
While, it is strange to mention a feature in your Manifest just so you can actually state that your app doesn’t need it. Therefore, declaring every feature helps in not getting caught with implicit hardware requests.
The final change that is done in project’s Manifest, is requesting a permission for accessing fingerprint sensor.
XML
<uses-permission android:name=”android.permission.USE_FINGERPRINT” />
Creating User Interface :
We’ll need to build our user interface. Edit, string.xml file and add the following code :
XML
<resources><string name=“app_name”>Fingerprint Authentication</string>
<string name=“instructions”>
Place your fingertip on the Home button to verify your identity
</string>
</resources>
Also, Google provides icon for fingerprint sensor which can be downloaded from here easily. And, add it to your project’s Drawable’s folder.
Now, focus on UI creation :
XML
<?xml version=”1.0″ encoding=”utf-8″?>
<RelativeLayout xmlns:android=”http://schemas.android.com/apk/res/android”
xmlns:app=”http://schemas.android.com/apk/res-auto”
xmlns:tools=”http://schemas.android.com/tools”
android:id=”@+id/activity_main”
android:layout_width=”match_parent”
android:layout_height=”match_parent”
android:paddingBottom=”@dimen/activity_vertical_margin”
android:paddingLeft=”@dimen/activity_horizontal_margin”
android:paddingRight=”@dimen/activity_horizontal_margin”
android:paddingTop=”@dimen/activity_vertical_margin”
tools:context=”com.jessicathornsby.fingerprintauthentication”>
<TextView
android:layout_width=”wrap_content”
android:layout_height=”wrap_content”
android:text=”@string/app_name”
android:textAppearance=”@style/TextAppearance.AppCompat.Large”
android:layout_centerHorizontal=”true”/>
<TextView
android:layout_width=”wrap_content”
android:layout_height=”wrap_content”
android:layout_centerInParent=”true”
android:id=”@+id/textview”/>
<ImageView
android:layout_width=”wrap_content”
android:layout_height=”wrap_content”
app:srcCompat=”@drawable/fingerprint”
android:id=”@+id/imageView”
android:layout_below=”@+id/textView”
android:layout_centerHorizontal=”true”
android:layout_marginTop=”36dp” />
<TextView
android:layout_width=”wrap_content”
android:layout_height=”wrap_content”
android:id=”@+id/textView2″
android:text=”@string/instructions”
android:layout_below=”@+id/imageView”
android:layout_alignParentStart=”true”
android:layout_marginTop=”27dp” />
</RelativeLayout>
Finally, your user interface should look something like this :
Wrapping Up
In this article we looked on some of the steps which typically needed to complete fingerprint authentication. If you want to try this project, then complete code is easily available at Github.
There’s a wide range of ways through which you can use this kind of sensor touch in your app to improve experience. This can also help in improvising an extra layer of security for certain type of apps. Also, even removing the need of user to enter password several times.
If you have any plans to use fingerprint authentication in your projects, then let us know in the comments!


Your point: “You can’t forget a fingerprint”, made a sarcastic remark.
I too think that people would now be preferring their fingerprint over other methods if there devices supports so, or else they might be provided with an option to type a 4 numeric pins for lower devices.
Thanks for sharing the codes, Kartik.
Yeah, fingerprint authentication is the best option for better interface and secure also.