
Mobile or smartphone is a constant companion of a human being. It is in itself a gem which can help you to connect with the web or keep a constant connection with the outside world. You can almost take your mobile phone anywhere and can click digital photographs on your mobile.
Mobile cameras have now become marvellous with ameliorated photo resolution and the addition of multi-dimensional lenses. Now you do not need to worry about your camera roll as the whole process is digital and phones are available with larger storage spaces. There are ultra-slick models and modern features associated with the mobile.
Now if you have got your desired mobile phone then you can take your skill level from amateur to world-class with just a few tips.
1. Initial steps
You need to first recheck that the camera gears are in the right place or not! The first rule is to make or the first plan a pre-shoot cleaning. It is often advised to clean the lens before taking every image. The lens can be cleaned in different ways. However, the better way is to remove the scratches by a softer material. The softer material can be microfiber cloth. It can remove any blot from the camera screen.
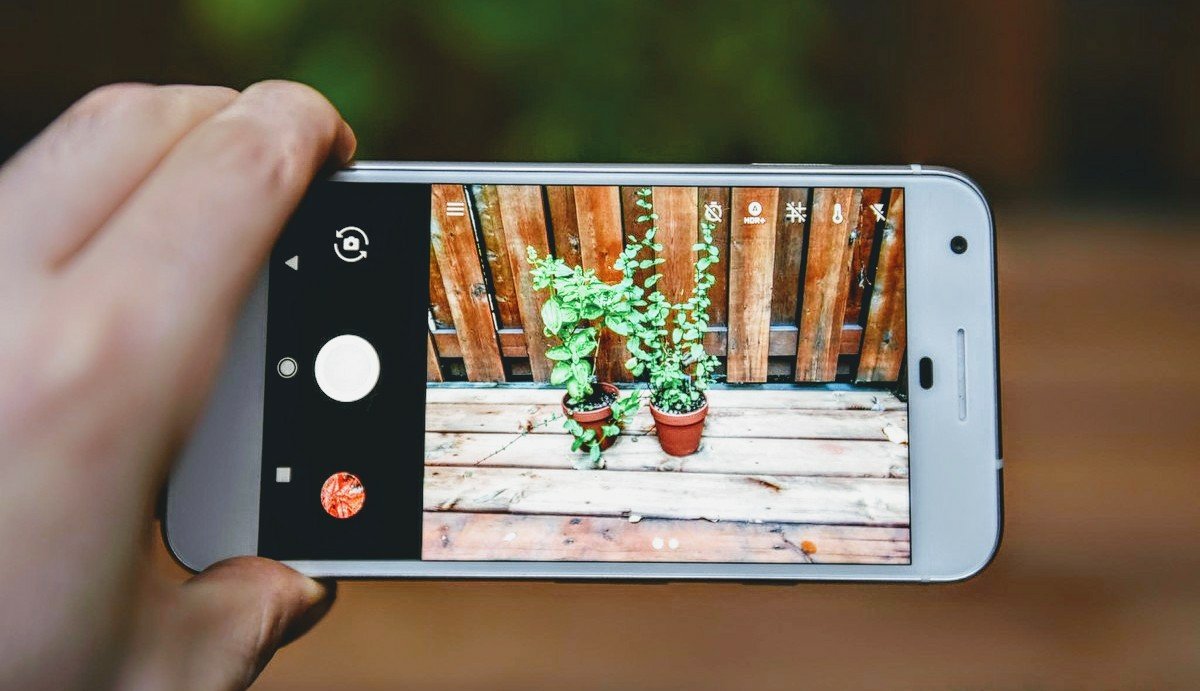
2. Framing shots
Framing shots in mobile photography is an extra thing considered to be used to focus upon. But you can as well do your thing with your idea or you can employ your phone to open the options grid. The grid will help you to take a better-shaped image and can keep you parallel with any vertical or horizontal line. Grid is a square overlay over the frame.
Composition to be the most important thing as discussed by a portrait or nightlife photographer. Making sure that the framing is exactly as you want.
3. Looking for the light
Mobiles have bright lenses now along with small sensors. For taking the best possible shots we have to look at the opportunities where the phone is shining. In indoor shoots, you can depend on the window light. It is much better than using your LED lights because that directly affects the picture. Try diffusing multiple lights from their sources. Candle lights, bulb lights can give you a steady source of light only if it is needed.
4. Portrait Mode feature
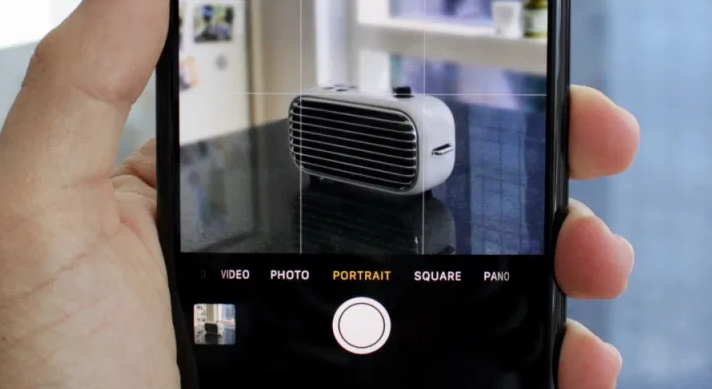
In the portrait mode on iPhone, the camera lens provides you with a shallow depth of field. In professional cameras, the difference is seen. It provides you with more visually stochastic shots. But in the case of your mobile camera, you can use the portrait mode when necessary. It is better to use portrait mode in a good amount of light.
5. Exposure adjustment
Mobile photography provides you with a printing and shooting model as done in a real environment. The applications on the phone which runs the camera have many manual features. You can change the exposure. You can make their brightness as you want.
Android phones offer a more traditional procedure in adjusting the icon or image exposure. iPhone offers a completely different handling operation. With exposure, you can every time lock focus before clicking a picture. For silhouettes, you can tap on the sky like a normal procedure.
6. Remote Shutter option
Remote shutters are usually helpful while shooting the pictures which requires a better and steady hand. Taping the screen often creates vibration for a microsecond. However, in architecture photography, you require a long exposure. In night photography you just can use the remote shutter option.
Many remote shutters are pocket friendly. Remote shutters are easy to find and remain under your budget.
7. Learning the camera’s feature
The imaging capabilities of modern mobile cameras are astounding. You can create calculated photographs. You can even blur the background of the picture or can glorify more of one side. Many good mobile cameras have the capability of capturing slow-motion videos.
In the iPhones, you can create live videos where the mixture of photographs and video is possible. In other cameras, you can capture multiple photos in a single sequence shot.
It is always better to have known all the features of a phone camera.
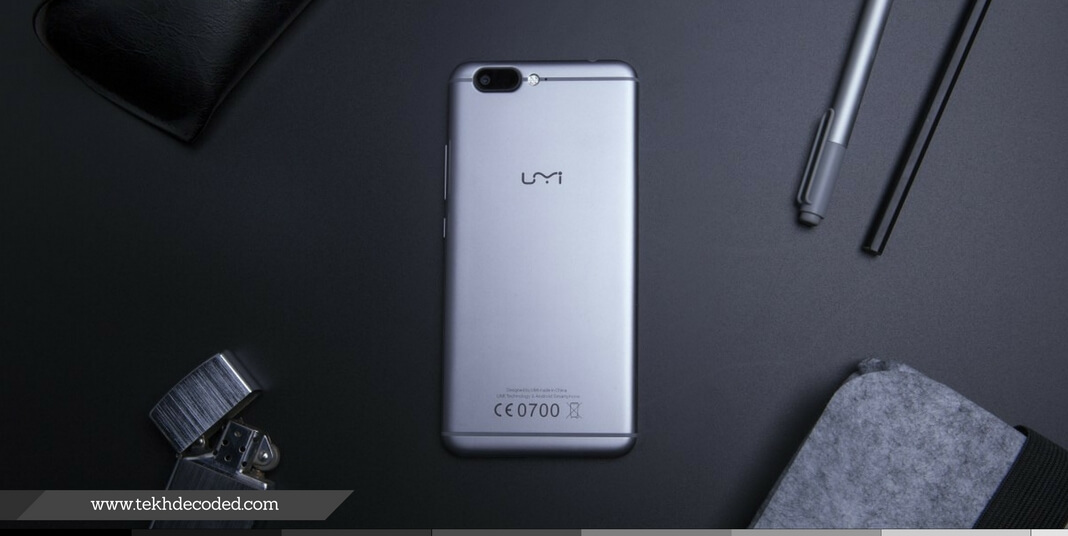
8. Adding lenses
Many phone cameras have a single lens. Whereas in other phones we can see another rear view lens for tighter angle or wider angle. Choosing an add on lens, can add dimension and versatility in the phone’s camera. An ultra-wide or telephoto lens will be a great choice.
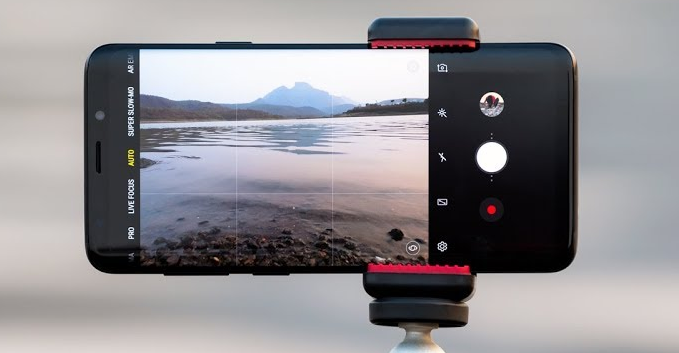
9. A tripod
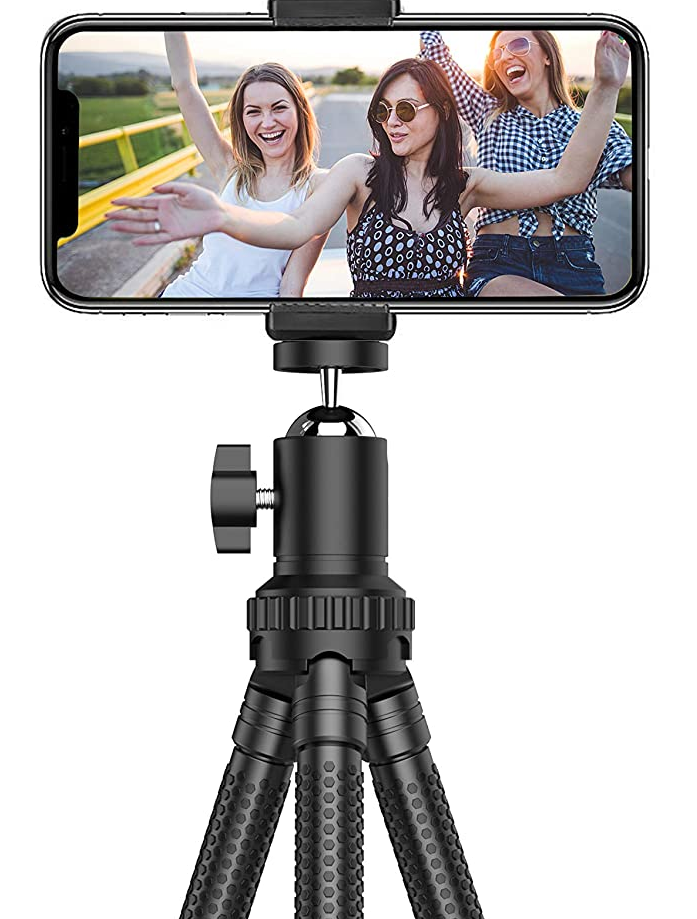
If any shoreline or skyline is a little dark than usual or you have taken a blurry picture, then it is time for you to take a tripod. With a tripod, you can easily experience long exposures, time-lapse, log light photography, or painting photograph. There are also professional tripods and good camera accessories which gives perfection in mobile photography. The camera tripods are usable with all phones.
10. Getting a gimbal
Starting level compact cameras in mobile camera remains limited within 720 pixels but with modern mobile cameras, you can even find 4k pixel capacity. There are mobile cameras which provide the feature of stabilization but that is not dependable.
So you can opt for gimbal which will offer smooth operational and crack free pictures. Many gimbals support the option of tracking moving objects. Apart from that, it also provides steady video, time-lapse mechanism, and panoramic stitching capability.
There are also other goods tips and procedures to click a better and smooth photograph. You will know along the way as you continue to evolve.
Cover Credits : Needpix
Bio: Jainish Vora is Author at Phoneier. Having experience with 5 years of writing about phones and other gadgets. He loves to explore and write different gadgets from android phones to wearable gadgets.