If you are an aspiring photographer, influencer, video maker, streamer or work any other job that requires using a camera, you’ll know the most important aspect of working with it is the play on lighting. As a general rule, good lighting goes a long way in making videos or images more interesting. Recreating a cinematic experience in your videos captivates the minds of people like nothing else.
Now here is the secret behind good lighting – It is expensive!! Very Expensive!! As a matter of fact, its too expensive for someone who is just starting out, as professionals use a multitude of high end equipment to give any scene a proper, even and diffused lighting, that is aesthetically pleasing to look at.
So how do you achieve similar results on a budget of say $100? The long and short of it is that, you can’t and that’s the end of it. The thing about cinematic-grade lighting is that there is a lot going on in the lighting department and its not just lighting, the camera and the video editing skills plays heavily into this as well.
Now, you didn’t click on this article to be disappointed and we’ll try not to do so. After all, there are a few hacks that you can use to come close to those results.
So with that said, here are a few ways in which you can massively improve your room lighting and ambience while sticking to a tight budget.
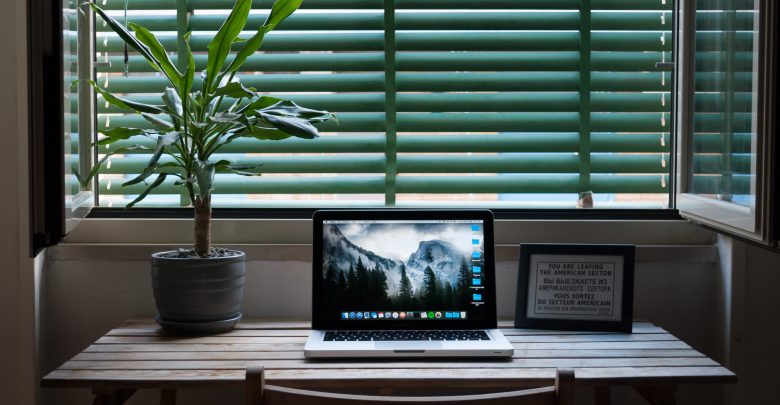
1. Sticking to Natural light
Even professionals would agree that giving your room as much natural light as possible is one way of getting instantly good results without spending a dime. To make the most of natural lighting, try to opt in for a clean and minimal room setup, with white paint to reflect and diffuse the lighting.
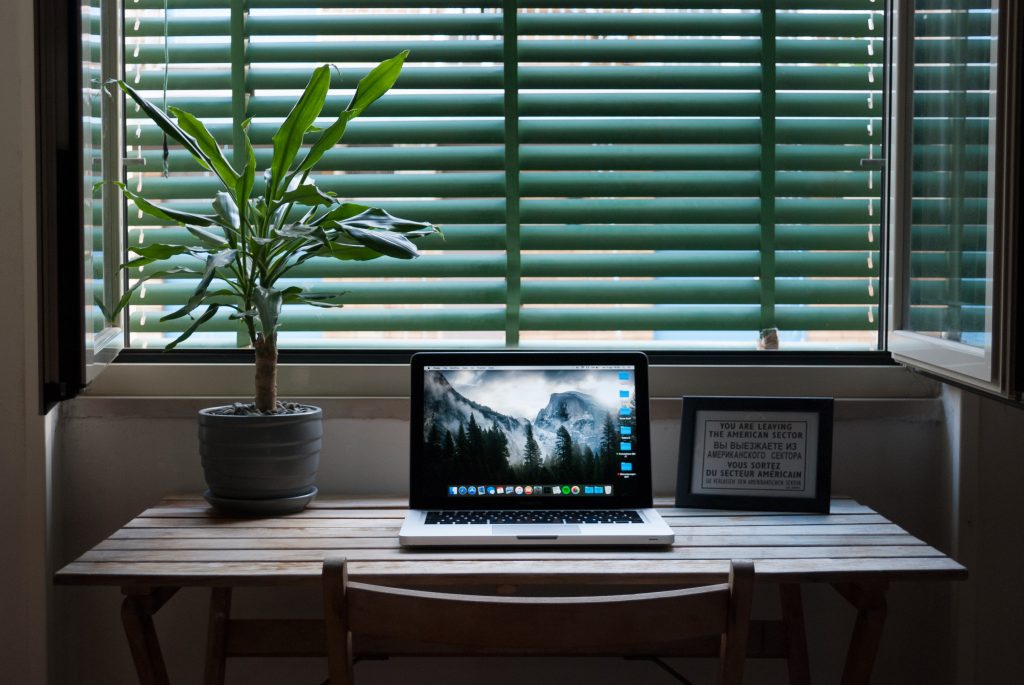
Optionally, if the light is too bright and its overpowering everything, opt in for some glass filters or even translucent curtains, which can be bought exceptionally cheap at major shopping outlets.
2. Get some cheap Lights
Now to get good lighting, you of course need to invest in a few lights. There are people who are probably working out of a basement or some inner part of the home with no access to natural light at all. In those cases, there is really no alternative but to invest in internal lighting. But as mentioned earlier, this is one area where you can really go overboard and end up with terrible results. So here is what you should spend on if you want to save a buck, get decent results and generally improve on your existing lighting setup.
- For just better face Illumination
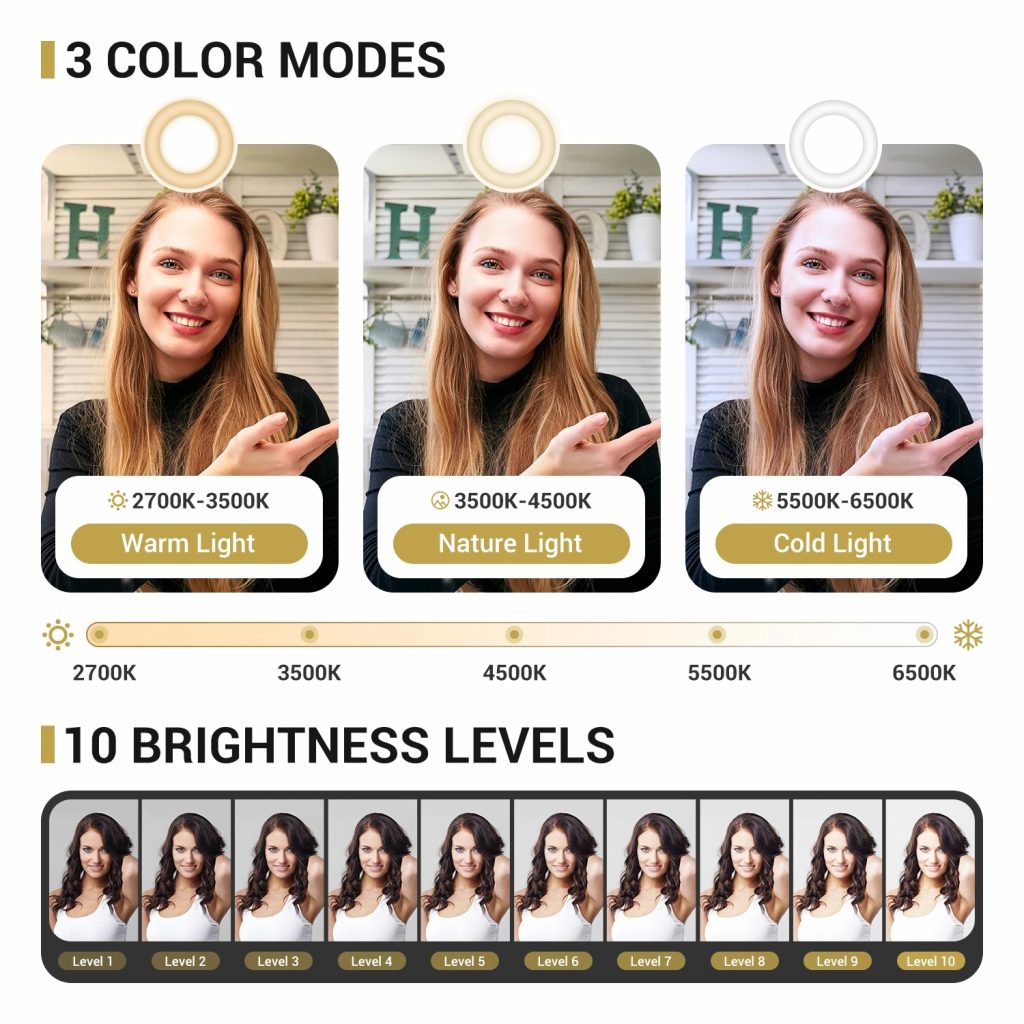
If your streaming cam is struggling for a decent image, then it can be easily solved with a LED Ring Light with hue/temperature control. A brilliant option here would be the TONOR TRL-20 Ring LED Light. It is a fairly powerful, inexpensive LED light that comes with all the basic kit that you need to get started. This would be a great option for streamers or people that generally need decent face illumination as not only its designed to be used in a desk setup, but also its compact enough to be used with a smartphone almost everywhere else. Best of all, the lights are Hue and brightness adjustable, therefore you can adjust the light temperature from 2700K to 6500K and there are 10 stages of brightness to fiddle with.
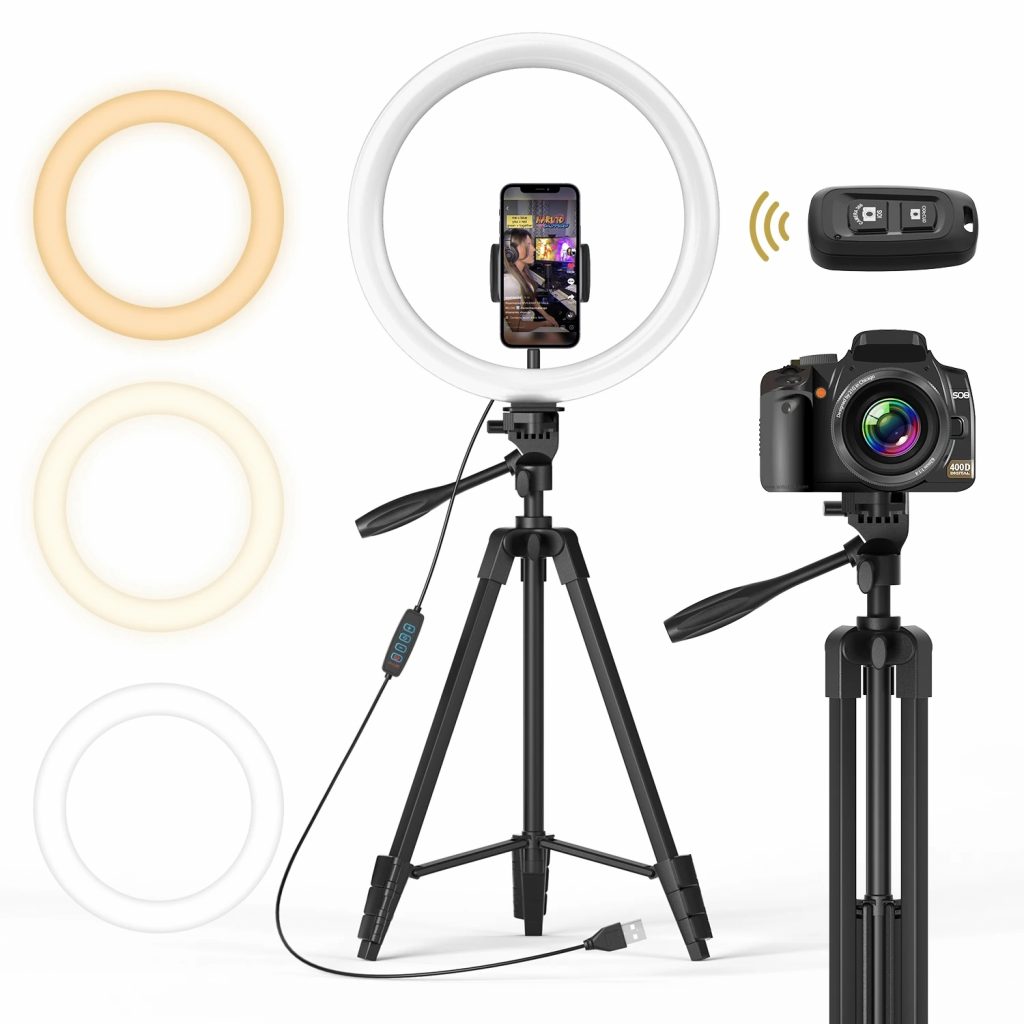
The Tonor TRL-20 is also Bluetooth equipped and comes with a remote Bluetooth trigger. It can wirelessly interface with your smartphone and you basically have a portable light module that works anywhere off a 10W power source and is universally compatible. The best part is that the entire module is Just $50 and is covered by a 4 year warranty after registration.
- For a more filling light setup
There is actually not a lot that can be done for a very tight budget when it comes to a full on cinematic studio like light, but we can get close. Lets look at the primary lighting that will be used. Here you have two options, each with a different price target.
A good way to spend less and get a strong light would be to just buy a generic pair of work LED’s and fiddle around the placement and filters to create even light diffusion. This will require some DIY and you might have to put in a bit of extra work if you want to get decent results.
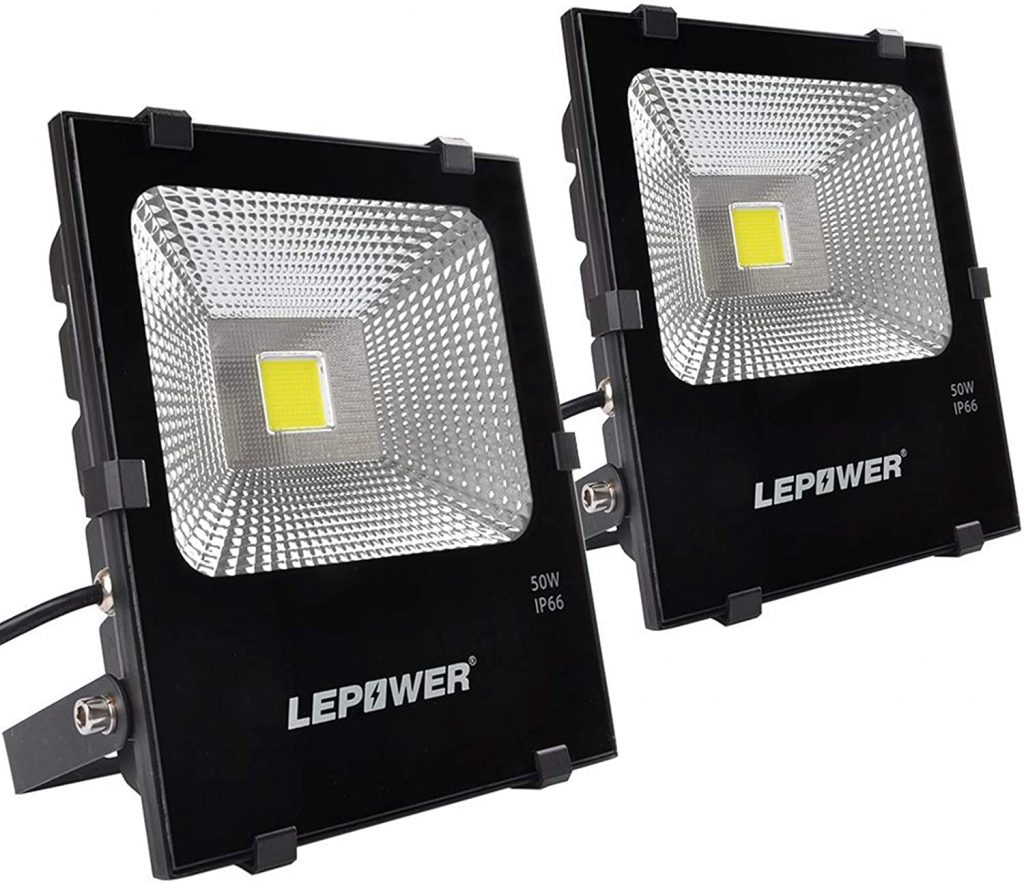
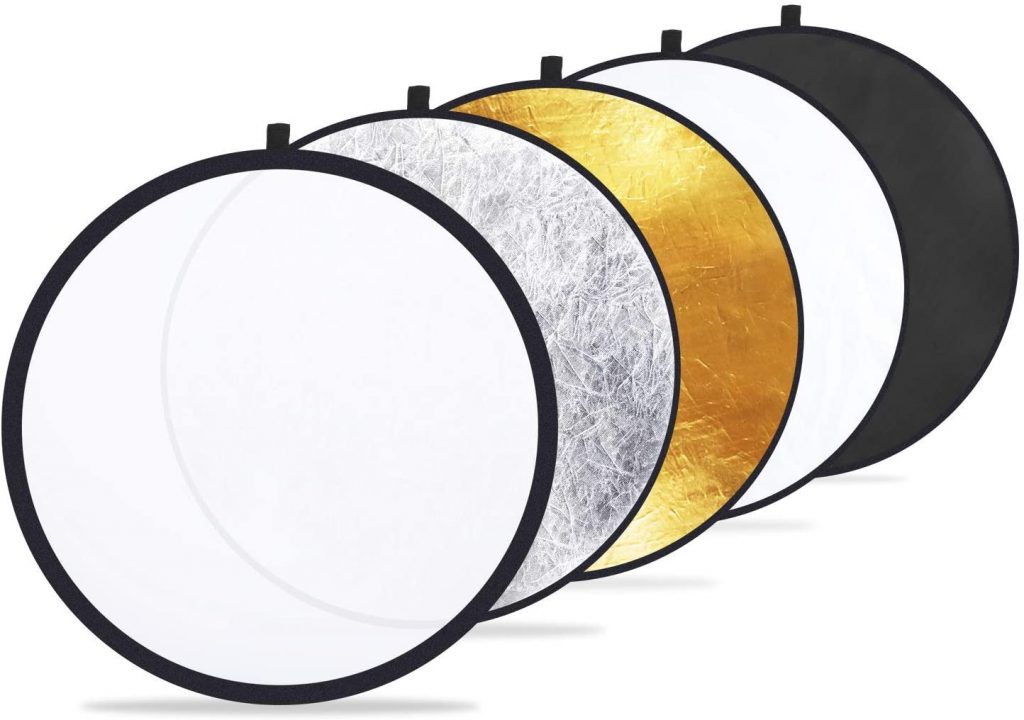
With the work LED’s you’ll also need a set of diffusers and reflectors and an equal number of stands to mount them on. The diffusers will control the throw of light, which will be important if you go this route as you don’t want them flashing directly on you and overexposing the image.
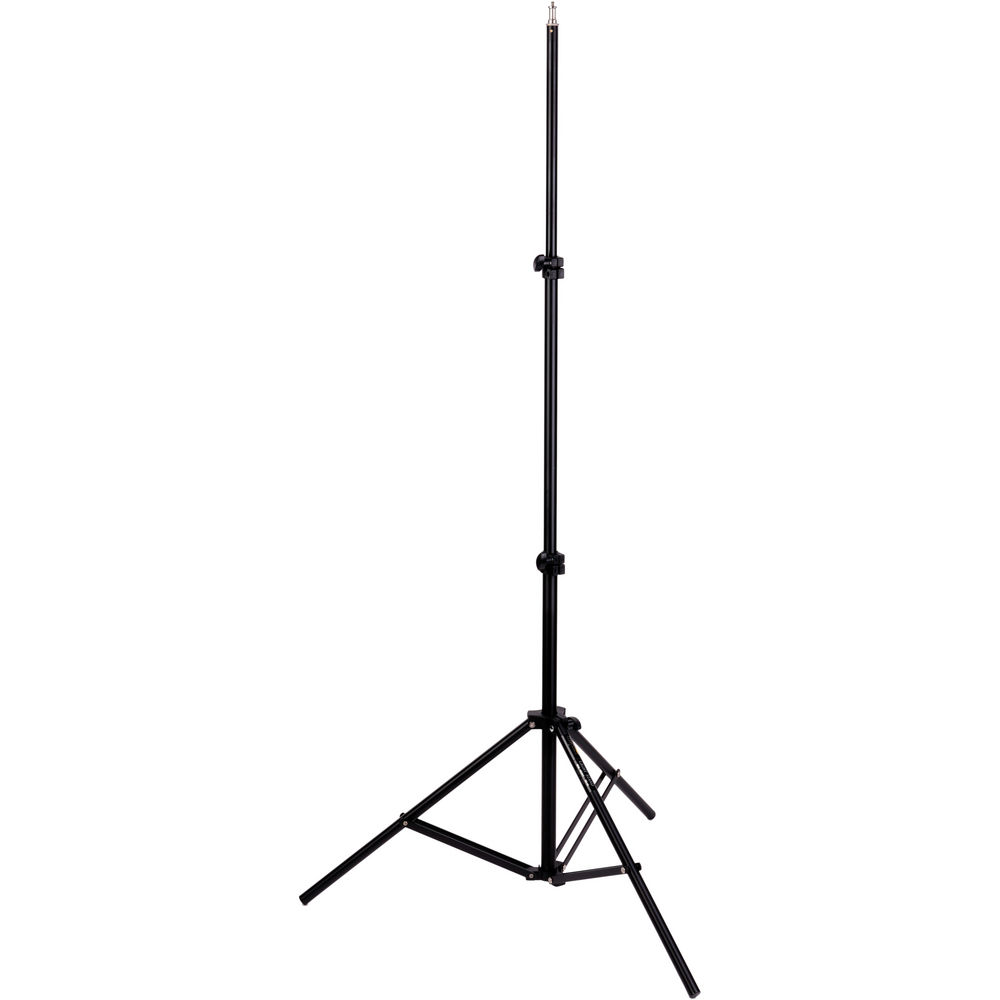
While the LED+diffuser+Stand combo can cost a bit more, the results produced are usually well worth it as it will provide even lighting to any scene and at the same time won’t break the bank. The only caveat being that this will require some work to get working properly.
Is it the most elegant solution? NO, Does it work? Yes! Totally. As a matter of face you can follow this tutorial from YouTube that shows you what you need do in order to achieve good quality results while staying well under budget with these lights.
On the more inexpensive end of things, there is again the TONOR TRL-20 LED Ring Light that has built in dimming and color control, which does take away a lot of the work but the caveat you may need to rely more on the light available in your room if you decide to take this route.
A few tips for achieving good lighting results
1. Always build your lighting around where you intend to place your main camera. It’ll drastically speed up the process of setting up the lights inside the room as you can go back to the camera, analyze the camera frame and tweak and adjust the lighting until you get something that looks decent.
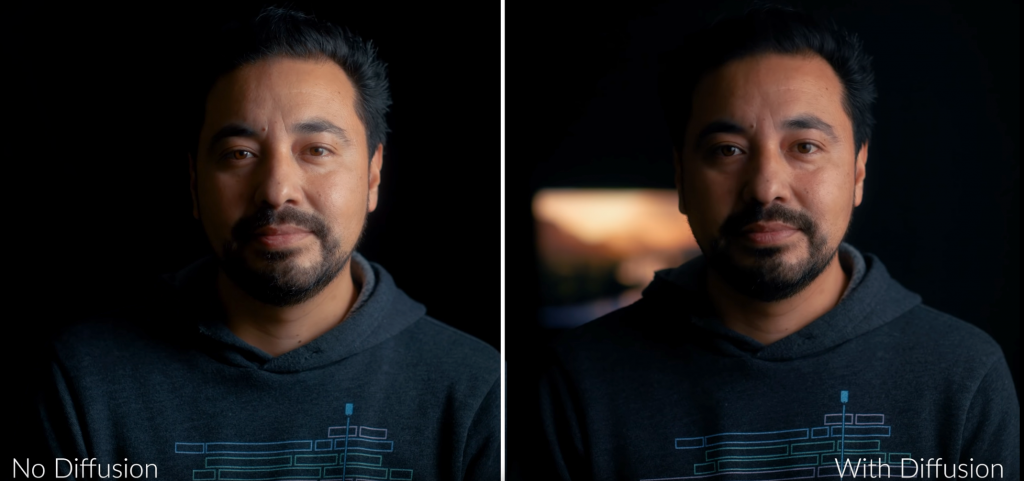
2. When placing lights, always make sure that its diffused properly, so that there are no hot-spots or direct harsh lighting that is lingering on the subject. There are lots of materials that you can use for diffusion but if you are on a tight budget, something like a white translucent curtain or a budget diffuser kit will go a long way to create even lighting.
3. Different lighting hues can have a drastic effect on the whole mood or tone of the video or still image. So take your time and play around with it so that the lighting compliments the subject of the video. A good way to adjust light hue would be to use a gel on top of the light source to get the lighting tone exactly how you want it.
4. Make sure to account for light spillage when working with very bright lights. Often when creating diffusion, it’ll cut the light down and then to compensate for lost light, you have to crank up the LED’s to output more power. But this can lead to light spilling out in the background, if it isn’t concentrated properly. There are dedicated kits that you can pick off for pretty cheap if you are struggling to control excessive light slipping or just want to concentrate on where your light is falling.
Conclusion
So here is the big reveal, yes lighting on a budget is possible but its difficult to recreate the effect of studio grade hardware on a shoestring. The logical path to take here would be to start with whatever you have got, use natural light or spend a little on some of the equipment mentioned in this article.